
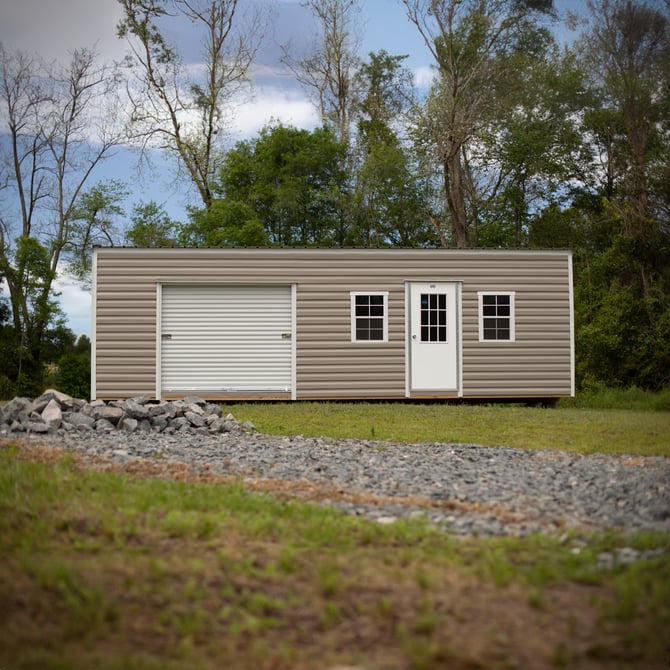
Proper site preparation is the most important first step to ensure your new Action Buildings shed is installed correctly, stands strong, and lasts for years. A well-prepared site guarantees a smooth delivery process and protects your investment against issues like uneven settling or water damage.
This guide provides a high-level overview of the essential steps. By taking a little time to prepare your location, you set the stage for a perfect installation.
1. Choosing the Perfect Location
Selecting the right spot for your shed is crucial for its longevity and usability. Before our delivery team arrives, consider the following:
- Accessibility: Is the path to the site clear for our delivery team? We require at least one foot of clearance on each side of the building. For example, an 8-foot wide shed needs a 10-foot wide clear path.
- Level Ground: The ideal location is flat and free of significant slopes or bumps. This helps ensure your shed's stability.
- Drainage: Avoid placing your shed in low-lying areas where water tends to collect after rain.
- Obstacles: Make sure the area is free from low-hanging tree branches, power lines, or underground utilities. Contact your local utility company before any digging.
2. Clearing and Leveling the Area
Once you have the perfect spot, the next step is to clear and level the ground.
- Clear Debris: Remove all rocks, stumps, bushes, and other debris from the footprint of your new shed. A clean area prevents interference during installation.
- Level the Surface: The ground must be level to ensure the shed doors and windows function properly and to prevent structural strain. Our professional delivery team will handle the final leveling of your building upon arrival.
3. Ensuring Proper Drainage
Protect your shed from water damage by ensuring proper drainage. Water pooling around or under your building can lead to long-term issues.
- Slight Grading: If possible, the ground should slope slightly away from the shed's foundation. This directs rainwater away from the structure.
- Gravel Base: A gravel pad is an excellent way to create a stable, well-draining foundation for your shed.
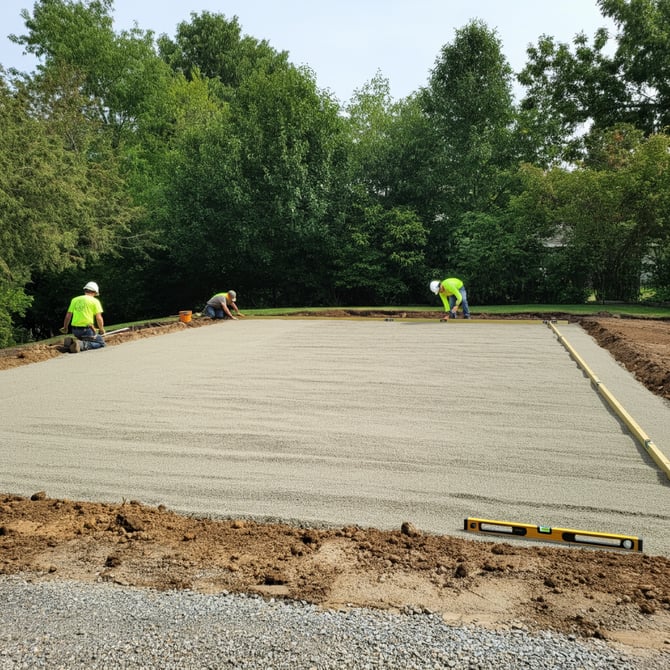
4. Setting Up the Foundation
While our team handles the final leveling of the building itself on concrete blocks, creating a prepared base is key to a lasting installation. A solid foundation prevents settling and shifting over time. The most common and effective option is a gravel base.
- Gravel Pad: A base of 4-6 inches of compacted gravel or crushed stone provides a firm, dry foundation that improves drainage and prevents moisture from affecting the shed's floor system.
Ready for a Deeper Dive?
Proper site preparation makes all the difference. While these steps provide a great starting point, our comprehensive guide offers detailed instructions, checklists, and tips to ensure your site is perfectly prepared.
Download our free Ultimate Checklist to Site Preparation to walk through every step of the process with confidence.
By following these guidelines, you ensure that our certified in-house delivery team can install your new shed quickly and efficiently, providing a seamless experience from start to finish. We look forward to delivering your new Action Buildings shed to your home in Alabama or Georgia.